You can make lipstick at home in under 30 minutes using just three core ingredients. Learning how to make lipstick at home puts you in complete control of color, texture, and everything that touches your lips — no mystery additives, no harsh synthetic dyes. If you already follow a careful K-beauty skincare routine, extending that clean-ingredient mindset to your lip color is the natural next step.
This guide walks you through everything — which ingredients to buy, how to melt and blend them correctly, how to get the right shade, and how to store the finished product so it actually lasts. Whether you want a bold berry, a sheer nude, or a conditioning tinted balm, the same basic method covers all of them.
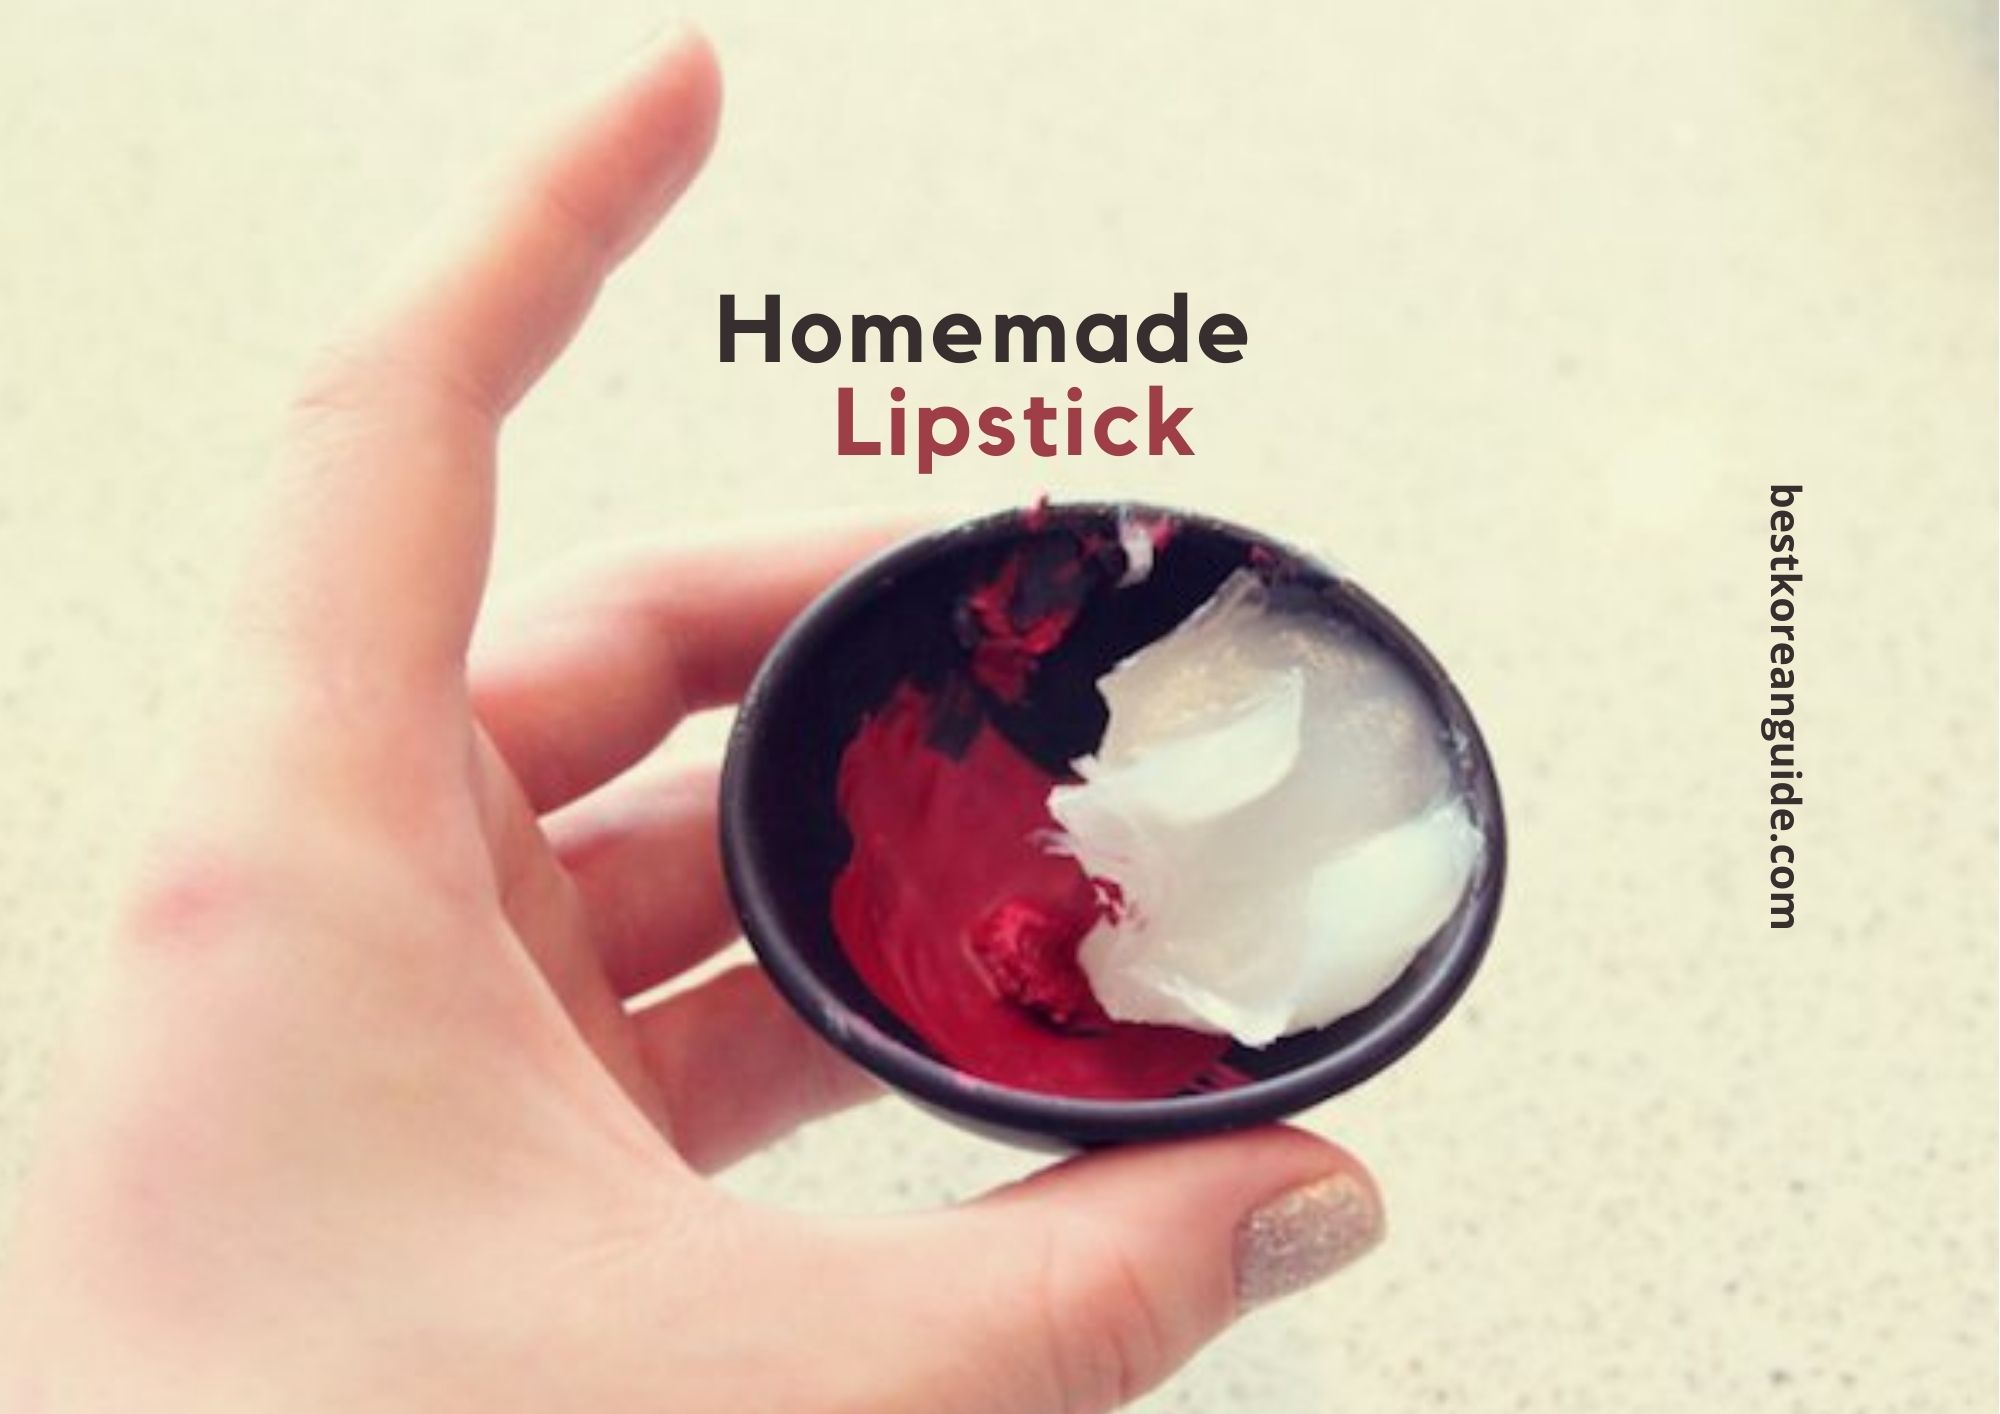
The formula comes down to three things: a wax for structure, an oil or butter for moisture, and a pigment for color. Master those ratios and you can produce any lip color you want.
Contents
What You'll Need to Get Started
Having all your supplies ready before you turn on the heat makes the entire process cleaner and faster. Don't skip the measuring scale — eyeballing wax-to-oil ratios is the number-one beginner mistake.
Core Ingredients
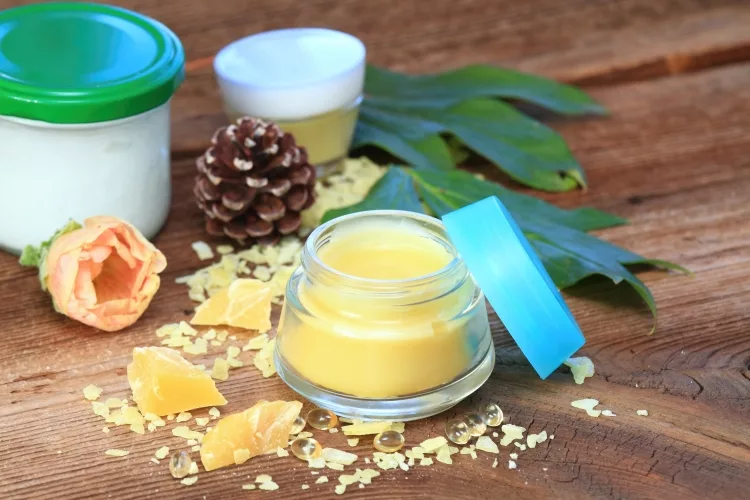
- Beeswax or candelilla wax — forms the solid structure of the lipstick. Beeswax is the easiest starting point for beginners and widely available online.
- Castor oil — the primary base oil. It binds pigment well, adds shine, and gives that classic lipstick finish.
- Shea butter or cocoa butter — adds moisturizing softness and a creamy consistency.
- Cosmetic-grade pigment or mica powder — your color source. Must be labeled lip-safe or cosmetic-grade — never use craft or art pigments on your lips.
- Vitamin E oil (optional) — acts as a natural preservative and conditions lip skin.
- Flavor or fragrance oil (optional) — one drop of peppermint or vanilla makes the finished product noticeably more enjoyable to wear.
Equipment
- Double boiler or heat-safe glass bowl set over a saucepan
- Silicone spatula or wooden craft stick for stirring
- Lipstick mold or empty lip balm tubes (tubes are cheaper and great for beginners)
- Digital kitchen scale — measuring by weight is far more accurate than volume
- Small pipette or dropper for precise pouring
- Rubbing alcohol and paper towels for cleanup
Start with lip balm tubes rather than bullet molds. They're inexpensive, easy to fill, and forgive small measurement errors. Once you've nailed your formula, upgrading to a proper lipstick bullet mold is worth it.
How to Make Lipstick at Home: Step-by-Step
Follow these steps in order. The most common mistake is rushing the cooling phase — don't skip it.
Step 1 — Melt Your Base
- Combine wax, shea butter, and castor oil in the top of your double boiler.
- Heat over medium-low, stirring slowly until the mixture is fully liquid and uniform.
- A reliable beginner ratio: 30% beeswax, 30% castor oil, 40% shea butter by weight. A 10g test batch (3g wax / 3g castor oil / 4g shea) is enough to fill one balm tube.
- Remove from heat immediately once everything is melted — prolonged heat degrades the oil.
Step 2 — Add Color and Scent
- Let the melted base cool slightly — around 60°C (140°F) — before adding pigment. Adding color to boiling-hot liquid causes uneven dispersion.
- Stir in your cosmetic-grade mica powder or pigment a little at a time, mixing thoroughly after each addition.
- Test color by dabbing a small drop on your inner wrist and letting it set for 10 seconds. The cooled color is your true result.
- Add one small drop of flavor or fragrance oil. Stir well.
- Drop in a few drops of vitamin E oil and stir once more.
Pro tip: Crush a pigment-rich eyeshadow or blush pan — the best Korean blushers have excellent pigmentation that translates beautifully into lip color — and use it as your colorant. It's already tested for cosmetic use and produces complex, flattering tones.
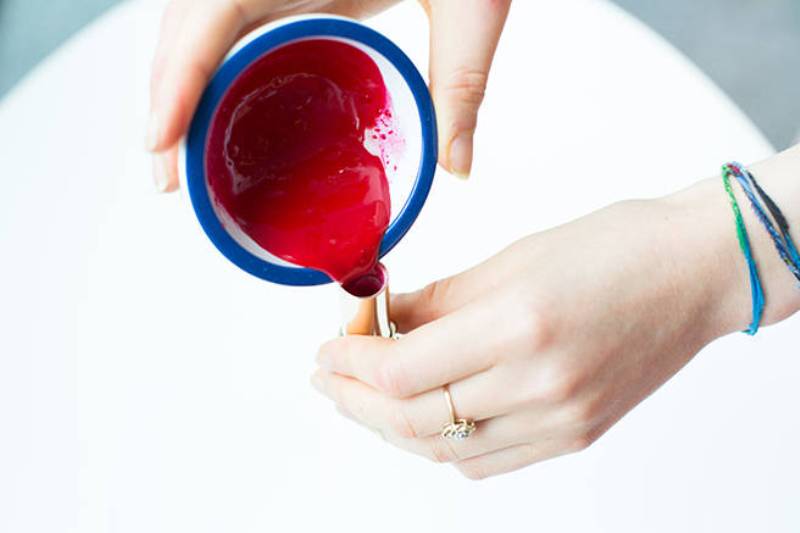
Step 3 — Pour and Set
- Work quickly once you're off the heat. The mixture firms up faster than you expect.
- Pour the liquid into your mold or tubes using a pipette for precision.
- Tap the mold gently on the counter two or three times to release air bubbles.
- Cool at room temperature for 20–30 minutes. Do not put it in the freezer — rapid temperature drops cause cracks and pitting in the surface.
- Once fully set, unmold or cap your tubes. Your homemade lipstick is ready.
Tips for a Perfect Finish
Getting the Shade Right
Color matching is the trickiest part of learning how to make lipstick at home. These guidelines will cut your trial-and-error time significantly.
- Always test on your wrist, not in the pot. Molten pigment reads much darker than it does once it's cooled and set.
- For reds: combine red oxide pigment with a small amount of brown mica for warmth and depth.
- For nudes: start with a skin-tone or beige mica and fine-tune with tiny additions of red or brown.
- For pinks: mix white mica with pink or fuchsia pigment — less is more, build gradually.
- Make small 5g test batches when developing new colors. Don't commit to a full batch until the shade is dialed in.
If you want to understand more about what makes a quality makeup formula before you DIY, reading up on what to look for before buying foundation gives useful context — the same principles around pigment density, finish type, and undertone matching apply directly to lip color development.
Adjusting the Texture
- Too hard: reduce wax by 5%, increase butter or oil
- Too soft or melting easily: add 5% more wax
- Too greasy: swap some castor oil for a harder wax like candelilla
- Not moisturizing enough: increase shea butter percentage
- Rough or draggy application: add a small amount of fractionated coconut oil to thin the consistency slightly
Choosing Your Lipstick Base
Your wax and oil choices determine how your lipstick feels, applies, and holds up throughout the day. Here's what you need to know before you order supplies.
Wax Options Compared
| Wax Type | Texture Feel | Best For | Vegan | Approx. Melt Point |
|---|---|---|---|---|
| Beeswax | Firm, classic waxy | Beginner formulas, everyday wear | No | 62°C / 144°F |
| Candelilla wax | Harder, shinier | Vegan lipstick, bold pigment payoff | Yes | 70°C / 158°F |
| Carnauba wax | Very firm, high gloss | Adding shine, warm-climate durability | Yes | 85°C / 185°F |
| Rice bran wax | Soft, creamy | Tinted balm hybrids, sensitive lips | Yes | 80°C / 176°F |
Oils and Butters
- Castor oil — the best pigment carrier, high viscosity, the classic lipstick oil for a reason
- Shea butter — deep moisture, creamy feel, melts right at body temperature for comfortable wear
- Cocoa butter — adds a natural subtle scent, slightly firmer than shea
- Jojoba oil — lightweight, long shelf life, ideal for sensitive or reactive lip skin
- Coconut oil — very moisturizing but significantly lowers the melt point — use at no more than 5–10% of your total formula
Storing and Caring for Your Homemade Lipstick
DIY lipstick skips synthetic preservatives, which means how you store it determines how long it stays usable.
- Store in a cool, dry location away from direct sunlight and heat sources.
- Ideal storage temperature: 15–20°C (59–68°F).
- Never leave your lipstick in a hot car — temperatures above 35°C will melt even a well-formulated bullet.
- With proper storage and vitamin E oil, most DIY lipsticks stay fresh for 6–12 months.
- If a white film appears on the surface (called blooming), the lipstick is still safe — melt and re-pour to fix the appearance.
- Wipe the tip clean after each use with a clean tissue to prevent cross-contamination.
At the end of the day, remove your lip color with a gentle formula that won't irritate lip skin. A micellar cleansing oil dissolves pigment easily without rubbing — these best Korean makeup removers include several options that work well for even stubborn pigmented formulas.
Before applying any lip product — homemade or otherwise — prep your lips first. Exfoliating once or twice a week with a gentle scrub removes dead skin cells so pigment sits evenly and lasts longer. The best Korean lip scrubs are a great place to start if you don't already have one in your routine.
What Does It Cost to Make Your Own Lipstick?
Cost is one of the strongest arguments for DIY lip color. Here's an honest breakdown of what you'll actually spend.
- Beeswax (100g block): $4–$7 — enough for roughly 15–20 lipsticks
- Castor oil (250ml): $5–$8 — enough for 30+ batches
- Shea butter (100g): $4–$6
- Cosmetic mica pigments (starter set of 10–20 colors): $10–$20
- Lipstick tubes or molds (pack of 12): $5–$12
- Total startup investment: approximately $28–$53
- Cost per lipstick after initial purchase: roughly $1–$2
Compare that to a typical Korean lip product — usually $10–$25 per piece — and the savings are immediate. After your first few batches, your cost per unit drops further because the base ingredients last a long time.
The financial case gets even stronger when you factor in customization. Instead of buying five different lipsticks to find one shade you love, you spend a few dollars experimenting until you nail your exact color. You end up with more products, more variety, and a much smaller total spend.
Building a Long-Term DIY Lip Routine
One batch of homemade lipstick is a fun project. Turning it into a reliable habit takes a slightly more systematic approach.
Batch in Sets
- Make 3–5 shades in one session — same base formula, different pigment additions. The setup and cleanup time is identical whether you make one shade or five.
- Keep a notebook or spreadsheet recording your exact ratios, pigment percentages, and color combinations so you can reproduce your favorites without guesswork.
- Label every tube with the date made and a shade name. You'll thank yourself six months later.
Seasonal Formula Adjustments
- In cold or dry months: increase shea butter by 5–10% for added lip protection. Dry, chapped lips don't hold color well — supporting your broader dry skin care routine will keep your lip base in better condition year-round.
- In hot or humid months: bump your wax percentage up slightly to prevent the formula from going soft in your bag or pocket.
- Use a small test tube of your formula as a heat-stability test — leave it in your car or a warm spot for a week before committing to a full batch.
Once you're comfortable with the standard formula for how to make lipstick at home, experiment further. A glossier finish requires more oil and less wax. A true matte finish gets there with a small addition of arrowroot powder or silica. A tinted overnight lip treatment uses a much higher butter ratio. The same core skills transfer across all of these variations.
Frequently Asked Questions
Is it safe to make lipstick at home?
Yes — provided you use cosmetic-grade or lip-safe ingredients throughout. Never substitute craft store or artist pigments, as these are not tested for skin contact or accidental ingestion. Stick to pigments explicitly labeled cosmetic-grade or lip-safe, and you'll have no issues.
How long does homemade lipstick last?
Most DIY lipsticks last 6–12 months with proper storage and a few drops of vitamin E oil added to the formula. Discard if you notice an off smell, a significant change in texture, or any visible mold — though mold is rare in a water-free (anhydrous) formula like this one.
Can I make a vegan lipstick at home?
Absolutely. Swap beeswax for candelilla or carnauba wax. Because candelilla is harder than beeswax, use about 60–70% of the beeswax quantity your recipe calls for to achieve the same consistency. All other standard ingredients — castor oil, shea butter, mica pigment — are already vegan-friendly.
Key Takeaways
- Making lipstick at home takes under 30 minutes and only requires three core ingredients: a wax, an oil or butter, and a cosmetic-grade pigment.
- The wax-to-oil ratio controls everything — small adjustments let you dial in the exact texture, finish, and durability you want.
- Only use lip-safe, cosmetic-grade pigments — craft or art-supply colorants are not tested for skin or oral contact and should never go on your lips.
- With vitamin E oil and proper cool storage, your DIY lipstick lasts 6–12 months and costs around $1–$2 per tube after the initial supply purchase.


About Austin Park
Austin Park is a Korean beauty enthusiast and product researcher who has spent years studying the K-beauty industry — tracking ingredient trends, comparing formulations, and evaluating how Korean skincare and cosmetic brands perform for a wide range of skin types. His research-driven approach to product evaluation focuses on ingredient lists, brand transparency, and real-world results rather than marketing claims. At BestKoreanGuide, he covers Korean skincare routines, product reviews, and ingredient guides for readers building their first K-beauty routine or expanding an existing one.
You can get FREE Gifts. Or latest Free phones here.
Disable Ad block to reveal all the info. Once done, hit a button below